JB:
so you decided to go with coreldraw x5 instead of illustrator? just wondering....no big deal except there are a lot of threads on here (use search function) about x5 crashing.
I have Illustrator also, I just found corel slightly more friendly at the time, but I figured out a few settings in Illustrator today so Im going to start playing around with it today some.
corel draw has a posterize function? i thought that was only in bitmap/raster programs like photoshop?
why do you need to export as a jpeg? you are using a vector program to produce a bitmap image? of course it will flatten the layer when doing so as it turns the image into an uneditable file (in vector) only for viewing.
I was only trying to export as JPEG to post here so I could show my progress and get feedback from the pros.
there are two types of tracing. one is using your pen tool to trace around the edges of each color of an image that was imported or placed on the artboard of the file and locked on it's own layer. the layer is locked because if you were to try and do anything on top of the image you'll find yourself fighting the computer to discern between what you are trying to do and the computer keep selecting that imported/placed image. you look at your image and decide what areas are different in color etc. and use the pen tool (the most important tool YOU MUST LEARN in a vector program) to trace around it. each section that you have traced should have it's own layer. BECAUSE once you complete that one section you want to lock that down as well as to not interfere with the next section that you will do. you can combine sections later.
Im using the pen tool mainly, the live trace is just about useless on this photo.
the other type of tracing is done automatically by the computer. in illy it's called livetrace (don't know about corel). it really only (IMO) works well on b+w images and even then it's not perfect, which means you'd have to go in and do a lot of editing afterwards and it adds a ton of extra nodes to the vector which slows performance and adds to file size.
OH there is another type which i still do occasionaly. it's called tracing by hand. get a light box. trace over the printed object using pen and paper, scan into photoshop, clean it up and either paint in photoshop or place into illy and either livetrace it (depending on complexity and whether or not i care if it comes out perfect.....for simple tshirt designs) or trace it once again using the pen tool.
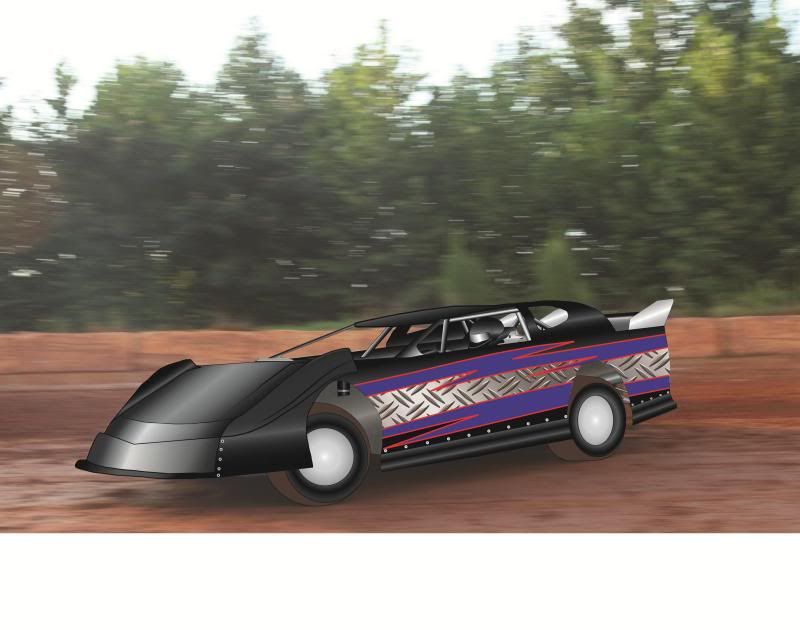
what you've done so far is just the start. i see about twenty moresections that need to be traced, from the gradeints in the hood, the rolls bars, highlights in the wheels and tires plus all the decals on the door.............like i had said in an earlier post, it's not easy. also why is it all black?
The actual car is all black with the exception of the wrap on it which I did also, My vector is all black because im still learning and havent figured out all the shading and gradients yet...but im trying and learning...
most of these guys that do that sort of thing have been doing it for years. if that's what you want to do, great (and what you've done so far is really good for a beginner just starting) but you've got to practice using all the tools and functions of the software you choose to use daily. it's like playing a music instrument. some people can say they play the guitar and they know the three chords of 'smoke on the water' and some people say they can play the guitar and they can play a jeff beck tune note for note with whammy bar riffs. it's all because of practice, practice, practice.